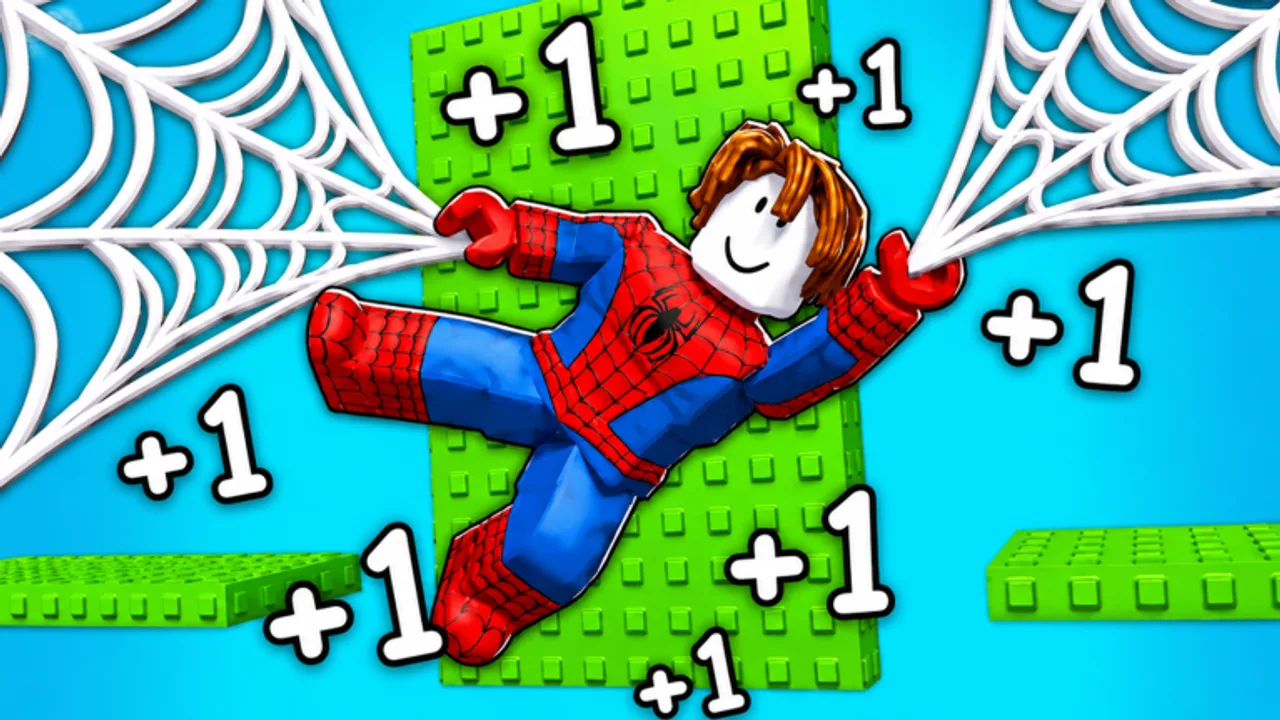
+1 Web Swing Escape Roblox Full Walkthrough
Clear every course with confidence.
This walkthrough covers +1 Web Swing Escape from start to finish. Each escape course tests your web-swinging skills, timing, and Speed stat. Use this guide alongside the video walkthrough above to clear every stage efficiently.
Before You Start
Make sure you have:
- Redeemed all active codes for 23,000 Speed and 1,100 Wins.
- Read the Controls page for input basics.
- Reviewed Beginner Mistakes to avoid common pitfalls.
How Escape Courses Work
Every course in +1 Web Swing Escape follows the same structure:
- Start point — Where you spawn when the course begins.
- Obstacles — Platforms, gaps, walls, and hazards you must navigate.
- Web shooter attachment points — Surfaces where your web shooters can attach for swinging.
- Finish line — Reaching this awards you a Win.
Your goal is to get from start to finish as efficiently as possible. The faster your Speed stat, the easier this becomes, because higher Speed means faster movement through the course.
General Course Strategy
Momentum is Everything
The key to clearing courses quickly is maintaining momentum. Every time you stop, you lose forward progress. Chain your movements together:
- Run forward.
- Shoot a web to an elevated surface.
- Swing and release at the peak of your arc.
- Land running and immediately shoot the next web.
This loop — run, swing, release, land, repeat — is the core of efficient course clearing.
Reading the Course
Before you start swinging, take a moment to scan the course layout. Look for:
- High attachment points — These give longer swings and more distance.
- Gaps — These require web shooter swings to cross. Aim for the far side.
- Narrow platforms — These require precise landings. Slow down slightly if needed.
- Hazards — Obstacles that reset you to the start on contact.
Handling Gaps
Gaps are the most common obstacle. To cross them:
- Run to the edge.
- Jump and shoot a web at the same time.
- Attach to a surface on the far side.
- Swing forward and release over the landing zone.
If the gap is wide, look for an intermediate attachment point to chain two swings together.
Handling Vertical Sections
Some courses have vertical sections where you need to climb. Use your web shooters to:
- Attach to a surface above you.
- Pull yourself upward.
- Release and reattach to a higher surface.
- Repeat until you reach the top.
Handling Moving Obstacles
Moving obstacles require timing. Watch their pattern, then move through during the gap. Do not rush — a single hit resets you to the start, which costs more time than waiting for a safe window.
Failure and Resets
If you fall off the map or hit a hazard, you reset to the start of the course. This is normal and expected. Every movement action before the reset still earned you +1 Speed, so no progress is truly lost.
The fastest approach is to restart immediately. Do not sit at the start point — begin swinging again right away to maintain your movement-per-minute rate.
Speed vs. Precision
There is a trade-off between Speed and precision. At high Speed values, your character moves faster, which makes precise platforming harder. If you are struggling with a specific section:
- Slow down slightly for the tricky part.
- Resume full speed after the obstacle.
- Practice the section in isolation until you can clear it consistently.
Race Mode
In multiplayer races, you compete against other players on the same course. Your Speed stat gives you a movement advantage, but course knowledge matters just as much. A player with lower Speed but better course familiarity can beat a faster player who makes mistakes.
Practice each course solo before entering races. Once you can clear a course without failing, you are ready for competitive play.
Using This Guide with the Video
The video walkthrough above shows a live playthrough of the game. Watch how the player handles each section, then replicate the movements in your own session. Pay attention to:
- Where they attach their web shooters.
- When they release swings.
- How they handle gaps and vertical sections.
- Their movement speed and rhythm.
Combine the video with the text strategies above for the best results.
For more on Speed building, see How to Get Speed Fast. For a training routine, check Speed Training.
World 2 Preparation
Before you tackle World 2, make sure your World 1 fundamentals are solid. World 2 punishes sloppy momentum and rewards players who have rebuilt their Speed buffer after the World 1 grind. Use the checklist below as your pre-flight routine.
- Rebuild Speed buffer. World 2 courses cost roughly 15,000 Speed per clear in lost-to-reset actions. Carry at least 50,000 Speed into the world so early failures do not stall your grind.
- Master double-swing. World 2 introduces longer gaps that require chaining two swings without touching a surface. Practice the run-swing-swing pattern until the second swing feels automatic.
- Learn safe fall paths. Some World 2 sections drop you into vertical shafts. Memorize the platforms that count as safe landings versus the ones that reset you, so you can commit to long swings without hesitation.
For a full World 2 walkthrough, see the World 2 Guide.
Frequently Asked Questions
Quick answers to the most common questions.
What happens when I fail a course?
You reset to the start of the course. Your Speed stat is preserved — you only lose your position, not your progress.
Does higher Speed make courses harder?
Higher Speed means faster movement, which can make precise platforming trickier. However, the overall benefit of higher Speed far outweighs the precision challenge.
Should I practice solo or jump into races?
Practice solo first. Learn each course layout until you can clear it consistently, then switch to races for competitive Wins.
How do I cross wide gaps?
Jump and shoot a web simultaneously. Attach to a surface on the far side, swing forward, and release over the landing zone. For very wide gaps, chain two swings using an intermediate attachment point.